Small Kitchen Worktop Zones That Make Cooking Easier
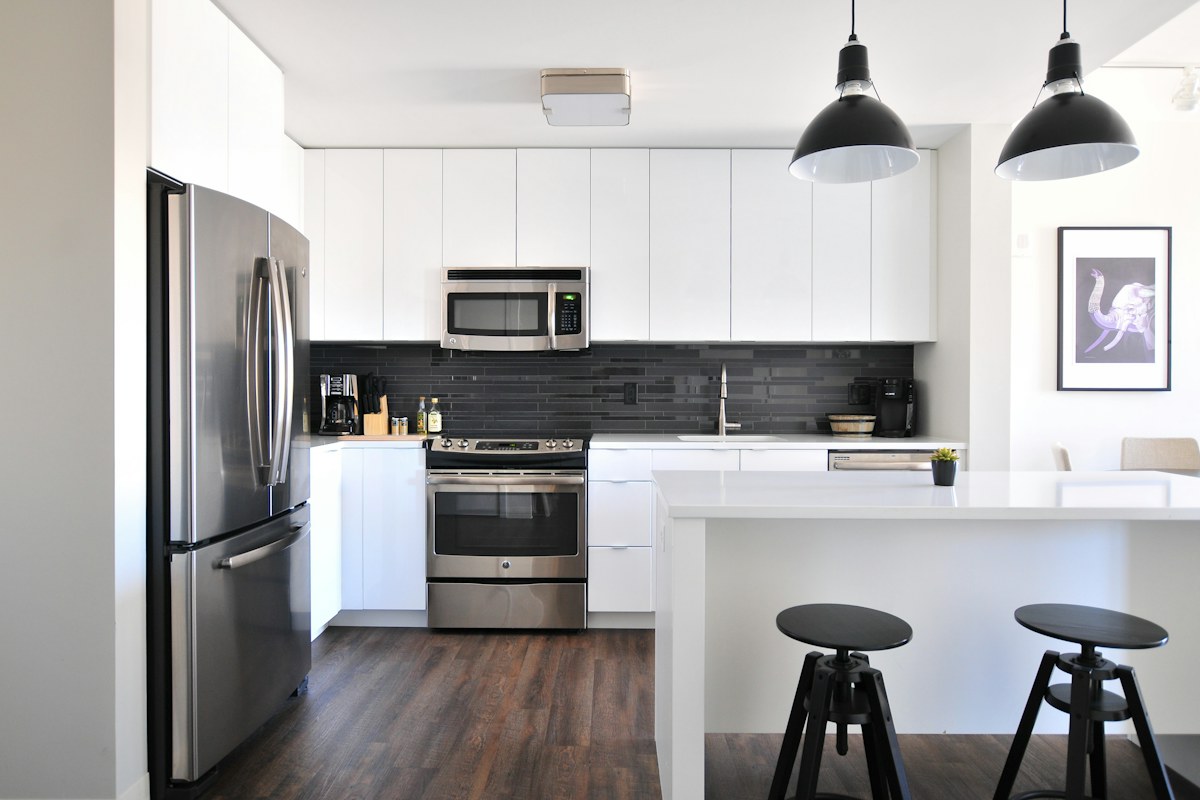
A small kitchen rarely needs more named stations than it has stretches of worktop. What it needs is a predictable place to chop an onion, set down groceries and make a drink without moving half the room first. Worktop zones are helpful when they follow those jobs, rather than creating permanent displays for activities that happen once a week.
Observe one normal dinner before reorganising. Notice where ingredients land, where the chopping board fits and what you move out of the way. Those interruptions identify the best place to start. A zone should reduce movement and handling, not simply look orderly when nobody is cooking.
Protect the preparation space
Find the largest practical stretch of worktop that you can safely use for preparing food. Keep it as clear as possible. Store the board nearby and put frequently used utensils within comfortable reach, while keeping sharp tools safely stored for your household.
Check the working relationship with the sink and cooking area. You need somewhere to put washed ingredients and a safe place for hot cookware appropriate to the surface. Follow appliance instructions about clearances and ventilation; available-looking space around a hob is not automatically storage space.
If the only preparation area currently holds a toaster, fruit bowl and mail, move the least-used item first. Try the change for a few meals. Avoid buying a shelf until you know whether the problem is insufficient capacity or simply an inconvenient arrangement.
Compare possible zones
| Zone | Keep nearby | Keep elsewhere | Useful buying question |
|---|---|---|---|
| Food preparation | Board and frequent utensils | Post and decorative trays | Will this organiser leave room to work? |
| Drinks | Cups and current tea or coffee | Spare mugs and bulk refills | Can everything lift out for cleaning? |
| Washing up | Daily cleaning essentials | A large product collection | Does the drainer fit actual plates? |
| Grocery landing | Temporary clear surface | Permanent appliances | Can this space clear immediately? |
One surface can serve two jobs at different times. A breakfast area that becomes evening preparation space may work better than two permanent arrangements squeezed together.
Keep the drinks area compact
Place everyday cups near the kettle or coffee equipment when safe clearances and sockets allow. Store refill supplies in a cupboard instead of displaying every variety. A small tray can collect loose items, but measure it: a generous tray can consume the very space you need.
Choose any new appliance by its entire working footprint. Include the space for filling, opening lids, removing parts and cleaning. A compact machine in a photograph may need much more room during use.
Avoid routing electrical cords across wet or hot areas. Do not reorganise sockets or use extra equipment solely to force a preferred layout. If the safe arrangement is less symmetrical, let practical use decide.
Make washing up a temporary footprint
A dish rack should fit the dishes you regularly wash, not an imaginary dinner party. Check large plates, pan lids and water drainage. A folding rack earns its place only if you will put it away and have somewhere for it to dry first.
Keep a small daily cleaning kit accessible, with products stored according to their labels. Spare supplies belong away from food preparation. For the awkward cupboard beneath, see under-sink storage that fits.
If washed dishes sit out for days because their cupboard is difficult to use, address the cupboard. A bigger drainer can disguise the bottleneck while taking away preparation space.
Use vertical space selectively
An extra shelf can help with light, frequently used items if it is stable and suitable for the location. Check height, reach and cleaning access. Open shelves near cooking can collect grease; narrow gaps behind freestanding risers can be difficult to wipe.
Wall rails may suit utensils, but they also add visible detail. Follow fixing guidance, keep sharp or hazardous items secure, and avoid hanging anything where it can contact heat. Your kitchen does not need to display every tool to make it accessible.
Frequently asked questions
Should every appliance stay on the counter?
Keep frequent, safely positioned appliances accessible. Store occasional ones only where you can lift and retrieve them comfortably. Heavy equipment should not require an awkward daily move.
Are matching storage jars necessary?
No. They are useful only when they improve access and suit the food’s storage requirements. Keep identifying information and relevant dates when transferring ingredients.
How can I stop clutter returning?
Give non-kitchen objects another destination and finish each cooking session by restoring the preparation area. A brief evening reset can help without becoming a full clean.
Compare current options
Use the measurements and buying checklist above before choosing. These links go to current retailer ranges; prices, stock and delivery terms can change. We do not earn commission from these links.